|
So you need to expel a course from a bar, yet don't claim a direction puller tool, or it essentially simply doesn't fit. On a side note, however, if you don't have to expel the sponsored piece, I wouldn't evacuate it. The magnet itself is fragile, implying that if it falls on a hard floor or pulls in rapidly to a solid bit of metal, it can break or much smash which can be unsafe. So, if you have to make the magnet more slender, don't stress over it excessively. Step 1: Bearing Removal? Sledge Stuff through the Space between the Jaws! Open your vise jaws, and place the bearing over the jaws as I appear in the second picture, and close it gradually until the point that you achieve the point where the pole can barely slide from side to side in the vise jaws. This is essential since if you don't ensure that the inward race is the thing that ingests the weight from the blow of the sled, the bearing can break, making it useless if you need to keep the bearing like me. Then, to drive the bar out of the bearing, I get a kick out of the chance to use a middle punch and a mallet and sled gradually and carefully. 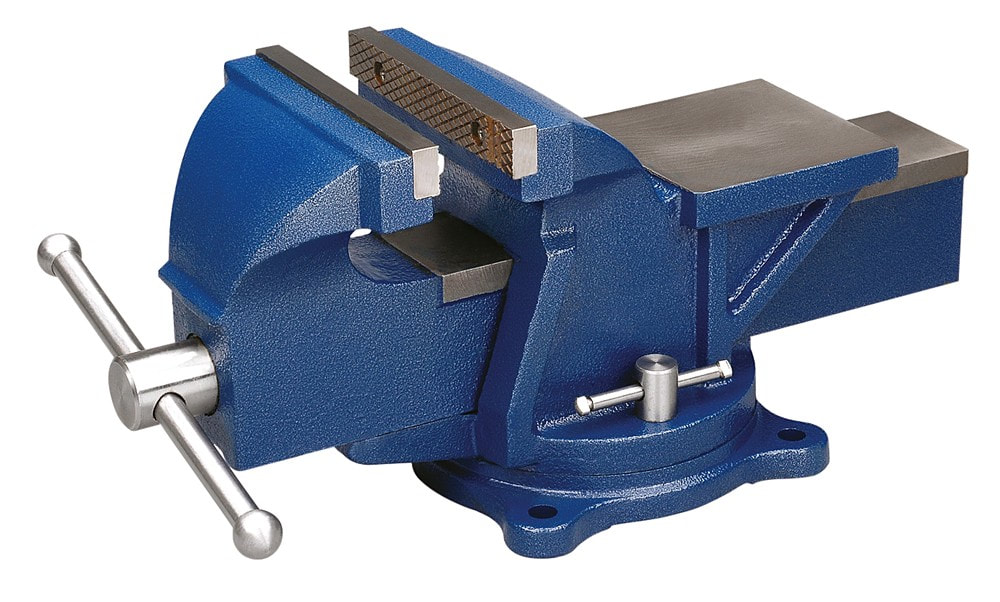 Step 2: Denial Wood Faster! Unless we're discussing a monstrous 72ft 2X4* that you have to lift alone, I've discovered that a vise works route superior to a locking forceps for expelling nails and staples from wood, and especially in harder woods. It can clutch a minor headless brad nail with much more power, and you have more use for hauling it out. I don't have an ideal case of this since I've as of now de-nailed all of my timber, so I needed to put a nail myself in some piece wood. Get more information about bench vise click here. Step 3: How to Make Magnetic Wooden Soft Jaws Delicate jaws are an awesome expansion to any bench vise, and especially if you're similar to me and work with materials that are gentler than the vise jaws. I like these much more than my past custom made vise jaws. A thin bit of scrap wood, magnets, a Popsicle stick, and some glue is basically what you require for this. These won't move around on you unless you choose not to use them, which for my situation, I store them on the iron block (striking part) or my vise when they aren't required :) Step 4: Crack Open Nuts A few nuts, for example, walnuts are easy to tear open with no tools, be that as it may, some others, similar to Macadamia nuts are difficult to tear open with no tools. I don't figure you can even break them with a sled! A vise, in a nutshell, is way quicker and has more control than locking forceps. Joke proposed, end of step! Step 5: A Simple Way to Mount a Bench Vise Onto Your Workbench Despite everything I have not gotten the waterproof canvas thing that I purchased to cover my workbench when it downpours since it isn't secured extremely well frame the components. I needed to ready to evacuate it in a moment, without objecting around with holding the base nut while twisting to expel the screw... I needed to influence it to penetrate powered! I originally expected on utilizing precisely the same of 3/8" dart for the tapping and the securing to the workbench, since I needed to tap the gaps with a penetrate, and afterward needed to use a similar attachment torque. I later discovered I didn't have the correct connector to use it in my penetrate, so in the wake of boring all four gaps, I needed to do everything by hand (I demonstrate this in the video). Goodness well, it ought to arrive soon from eBay, without a moment to spare to do some quality tests, because these are a path more grounded than I expected :) Step 6: Eliminate the Annoying Clanking Sound! If you've ever attempted to work discreetly to not disturb others, you may know that it is so clumsy to endeavor to turn the handle of a vise rapidly, so the bar remains set up and doesn't create a truly boisterous clanging sound when it falls. Not any longer! I originally thought of putting O-rings on the handle, however then discovered I don't have any, so I chose to use some silicone spacers that I think I rescued from an auto stereo framework. I think they were used to prevent the PCB from rattling around from the vibrations of the auto. However, I'm not by any stretch of the imagination beyond any doubt. Issue settled, and I wish I thought of this before! Step 7: Separate HDD Bases from Their Non-attractive Backs If you've ever dismantled a hard drive, you'll know they usually contain a couple of amazingly solid neodymium magnets, which are useful for all sorts of activities. This amazing idea* encourages you to expel the patron piece from the magnet without hurting its attractive properties with warmth or breaking it, as I've done different circumstances previously.
0 Comments
Your comment will be posted after it is approved.
Leave a Reply. |
